
We love our teak decks. They’re beautiful, make great non-skid when wet, and add some serious character to our boat, Constellation.
But, when we bought our boat, we knew we would have to do some serious refit projects and maintenance to get ahead of any future problems.
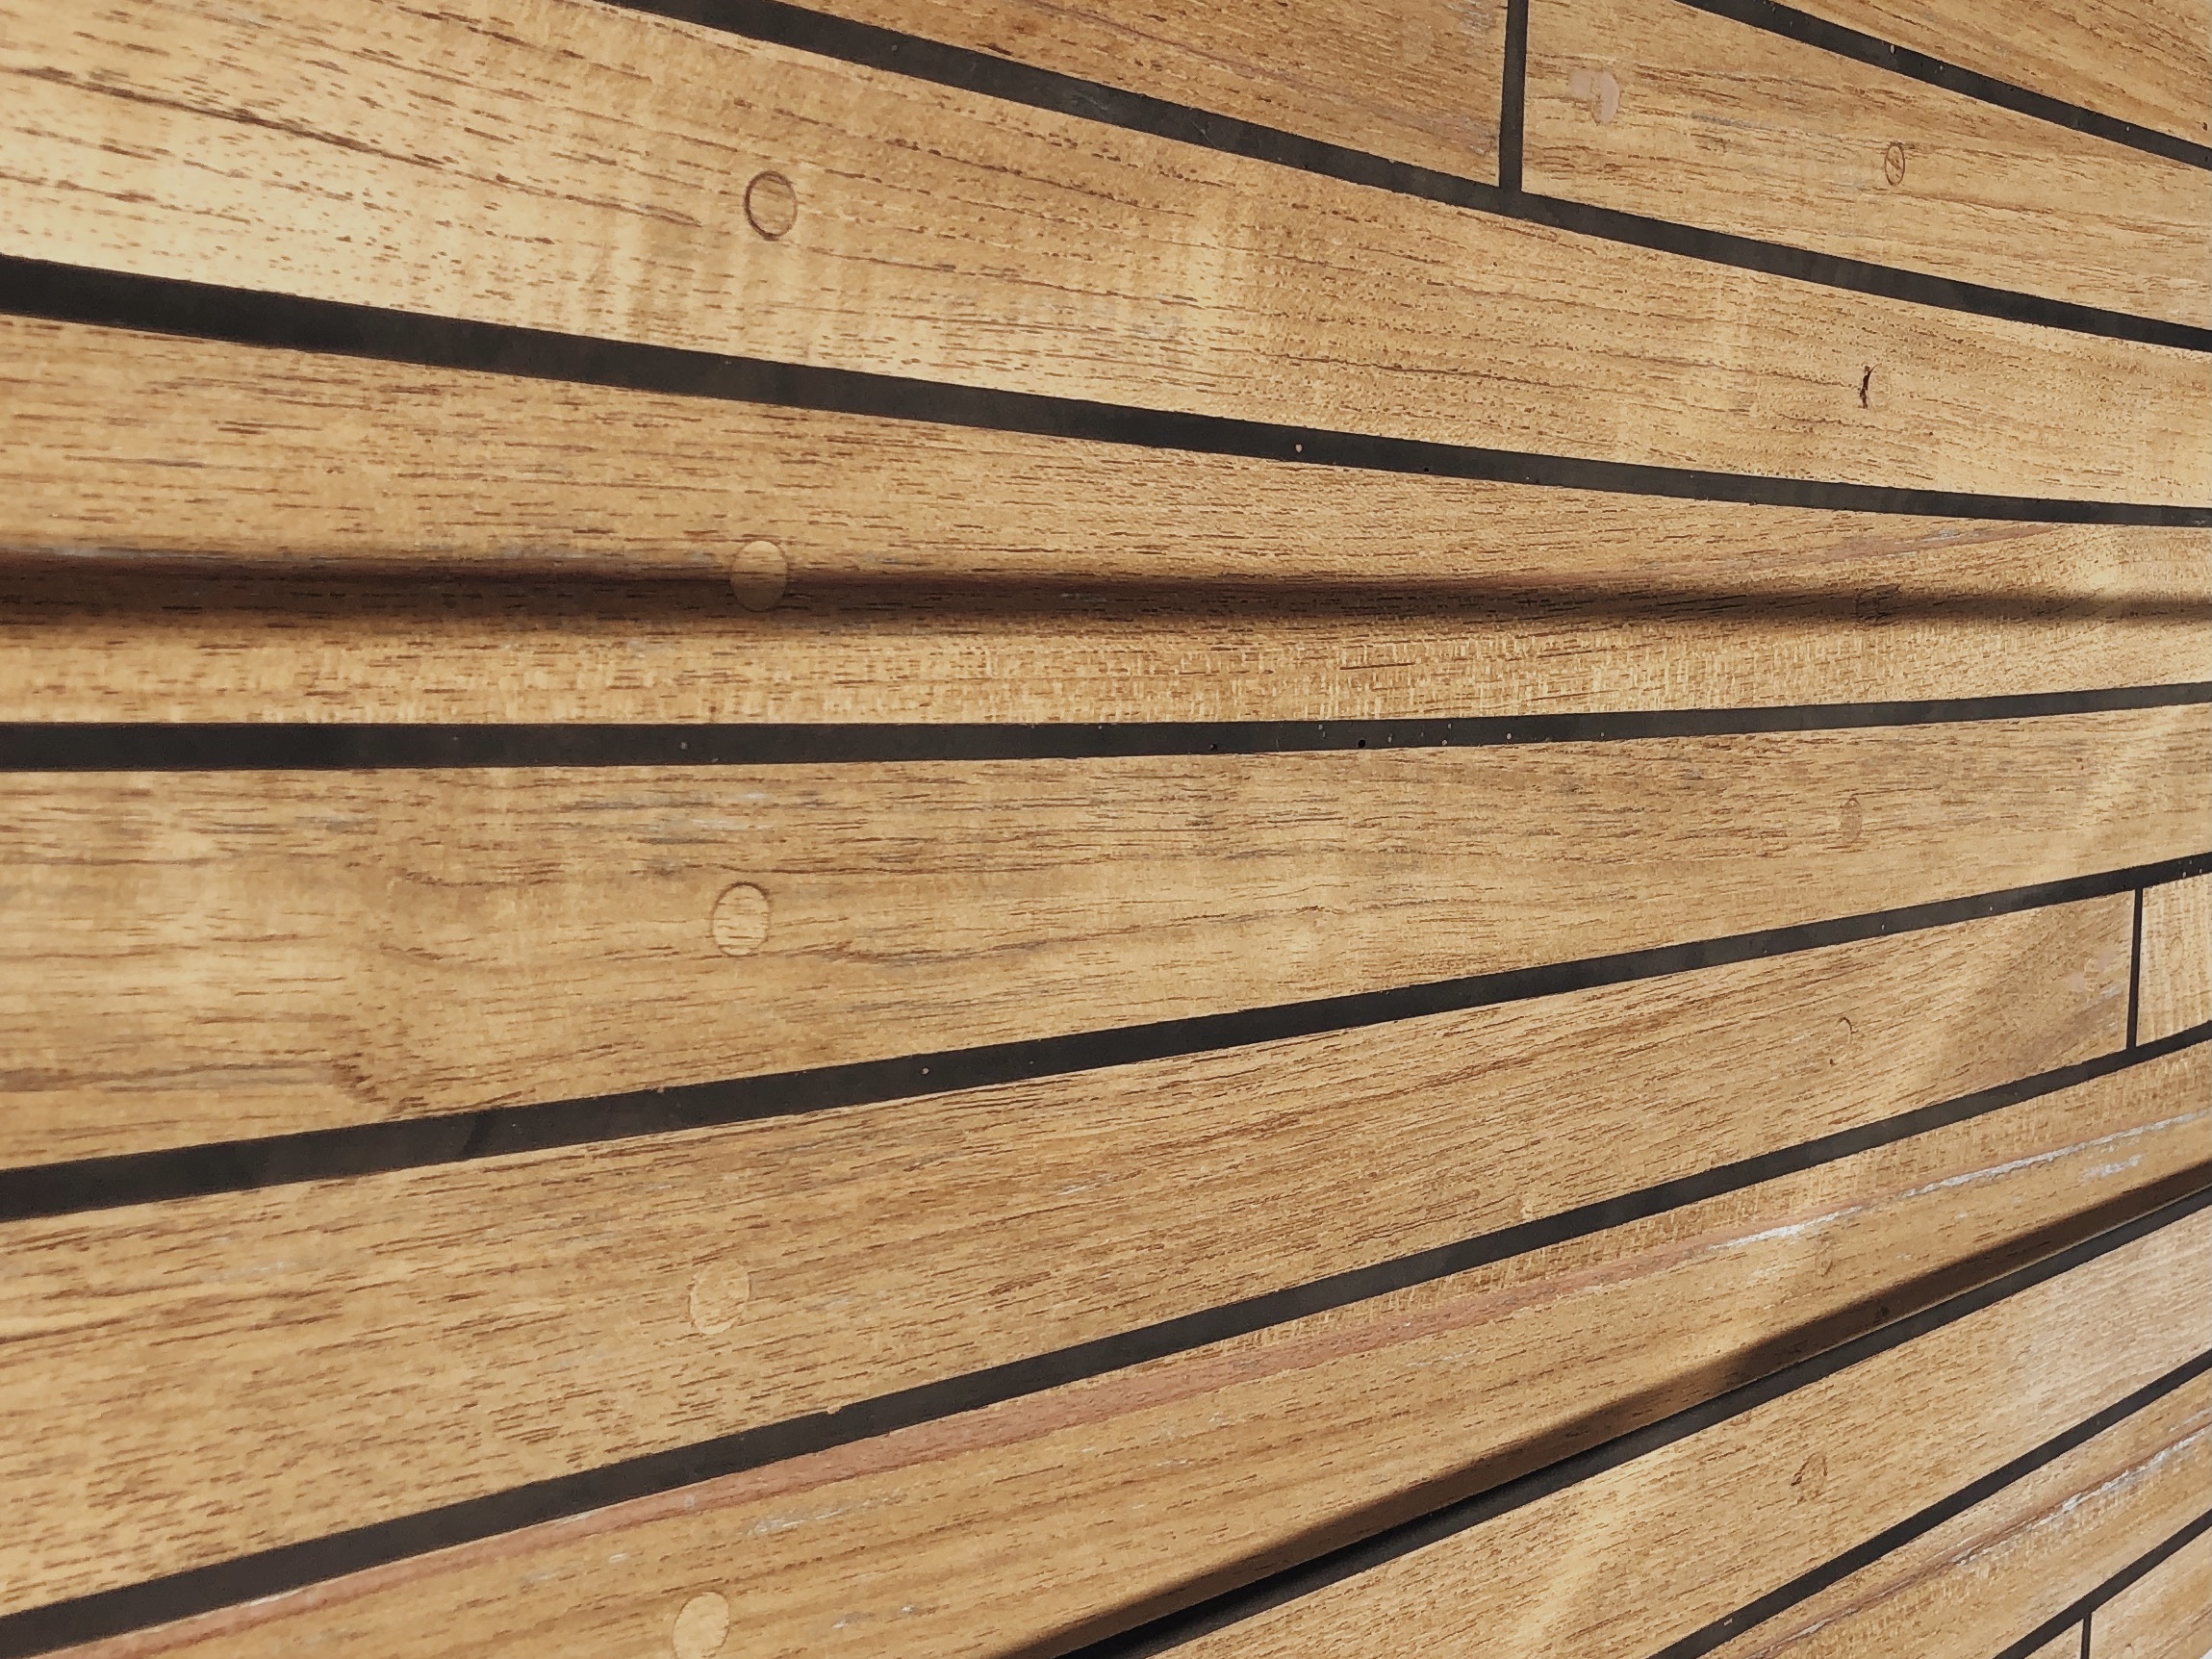
Troubles with our teak decks
We inherited teak decks that weren’t properly maintained over the years. It was clear they had been generously sanded a number of times, making the planks thin and exposing several screw heads. There were also were deep grooves between the wood grain, which is most often caused by improperly washing the decks parallel to the grain (not good!)
To make sure water wouldn’t reach our deck core via the exposed screws, we decided to remove and replace all 800+ teak bungs.


Our experience replacing teak deck bungs
STEP 1 – REMOVE EXISTING BUNGS
We used a small pick and a hammer to gently break the bond between the bung and any remaining sealer, then chiseled the pieces of bung out.
STEP 2 – CLEAR OUT SEALANT AND REMOVE SCREWS
I used the same small pick and hammer to remove old sealant around the screwheads and make it easier to remove the screws. Some bungs were clearly re-sealed in a previous maintenance effort with a different type of adhesive. The newer sealant was rock hard and resulted in a pulling up teak chips around the edges of several bung holes when extracting the screws. Once we noticed this problem, we took extra time to chisel out as much old sealant as possible before extracting the screws. We saved the chips and were able to re-adhere most.
STEP 3 – DRILL OUT HOLES
Before we could install new bungs, we needed clean holes. We drilled through the teak with a 3/8″ end mill bit (a forstner bit or flat drill bit could also work) the same size as our new teak bungs, which were just slightly larger than the existing holes. We drilled just until we reached the gelcoat below the teak. The last step was to vacuum all bits of sawdust to prep the area for new sealant.
STEP 4 – FILL HOLES WITH SEALANT
We chose to forego adding new metal screws because our teak planks are generously adhered to the gelcoat, and we have no concerns that they will lift away from the cabin-top. Some would recommend filling the holes with a hard epoxy in place of metal screws. This may be a good approach, but we wanted to use a product that would seal the holes and expand and contract with temperature and water exposure in the same manner as the teak. We went with a product called Life Calk in the teak color and couldn’t be happier with the results! We generously filled each hole with the product in preparation for new bungs.
STEP 5 – INSERT NEW TEAK BUNGS AND CHISEL EXCESS
Working in batches of 15 to 20, we filled each hole with sealant, lined up new bungs with the grain, then hammered them in tightly. Once the Life Calk was dry, we then sheared off the excess bung to get close to flush with the teak deck. One approach is to use a thin and flexible saw, but we had a chisel on hand which worked just fine. Using the chisel, it was important to make sure the chisel blade was truly parallel to the deck.
STEP 6 – SAND DECKS
We then sanded the entire surface of our teak decks using 80 grit paper, just until the bungs were flush and the silvered areas were removed. Some people use more aggressive sandpaper at first to bite through the rubber between each plank. We wanted to preserve as much thickness as possible and opted to slowly work the area down with 80 grit. After sanding, we washed the boat to remove all wood particles in preparation for teak sealer.
STEP 7 – APPLY TEAK SEALER
After sanding, you can choose to maintain your decks in a variety of ways. We opted to apply a low-maintenance sealer, called Semco Teak Sealer (we LOVE this stuff!) We apply this sealer every 6-months or so.
Recommended materials for replacing teak deck bungs
- Teak bungs (3/8″ is common)
- Tools
- Hammer
- Small pick
- Power drill and flat drill bit or a forstner bit
- Screw extractor set (optional, but useful if heads are stripped)
- Chisel or flexible saw
- Vacuum (optional)
- Sander and 100 grit sandpaper
- Life Calk
- Semco Teak Sealer (we used Honeytone)
This post contains some affiliate links – we will only recommend products we love and use ourselves!

